3 Creative Ways to Eat Chickie Dough!

If you haven’t already heard, Karmel Walters and I are the RD duo behind Edmonton’s fav cookie dough hummus – Chickie Dough. The use of pulses in desserts and baked goods was NOT main stream by any means 2.5 years ago when Chickie Dough made it’s debut, but things are changing quickly (in large part due to WHO naming 2016 the International Year of Pulses). We have definitely gotten our fair share of crazy looks over the years as we ask if people would “like to try our cookie dough flavoured hummus.” But the way their eyes light up when they try it for the first time and realize it is actually ridiculously delicious make’s our job so much fun!

One of the MOST common questions I get is – how do you eat it? So, I thought it would be fun to do a quick blog highlighting three ways to eat Chickie Dough other than using it as a dip.

IMG_1880

Chickie Dough Toast – those of you who have read a food blog or scrolled through Instagram in the last year know that toast is “so hot right now”. I’ve completely jumped on the bandwagon and I think Chickie Dough toast is just about the most decadent (but still nutritious) thing I’ve ever tasted. The best combo, in my personal opinion, is Chocolate Chip Chickie Dough with fresh strawberries on a grainy whole wheat bread. But honestly, the combinations are endless!

IMG_1872

Chickie Dough Ants on a Log – now this one is something that I tell people to try all the time, but I have this strange feeling that no one ever does. You really should. Seriously. Peanut Chickie Dough is the flavor with the least amount of sugar, making it extremely versatile and the PERFECT filling for crisp celery. It makes for a super light, but satisfying snack after work or a guilt free treat after dinner when you are trying to curb your sweet tooth.

IMG_1848

Chickie Dough Parfait – so I don’t know about you, but I’m ridiculously excited for pumpkin spice season!!! I’m not sure I ever liked pumpkin spice anything before we started making Pumpkin Spice Chickie Dough, but now…I have fully converted. The Chickie Dough Parfait was inspired by the uncanny resemblance between pumpkin pie and Pumpkin Spice Chickie Dough. This baby is the equally as tasty, way less fattening cousin of pumpkin pie, topped off with fat free cool whip and crushed up graham wafers.

What is your favorite way to eat Chickie Dough?? Leave a comment below – I would LOVE to hear from you.


Advertisement

Vegan “Nice” Cream – Two Ways

Yesterday was National Ice Cream Day!!

If that doesn’t get you excited – then I’m not sure we should be friends…

(Just kidding! – but honestly…)

I LOVE ice cream – but really try to practice moderation in it’s presence. Lucky for me this ice cream is healthy enough to be consumed at breakfast, lunch and dinner (in my personal opinion)!

I clearly could not decide on just one flavor, so you’re getting two:

Strawberry Coconut Cream
&
PB Banana Chocolate

IMG_1631

IMG_1638

IMG_1653

Strawberry Coconut Cream
(2 servings)

Ingredients:
– 1 banana, sliced and frozen
– 8 strawberries, quartered and frozen
– 1/4 cup full fat coconut milk
– 3 strawberries, finely diced
– 2 tbsp coconut flakes

Instructions:
– Add frozen banana, frozen strawberries, and coconut milk in a food processor and blend until smooth
– Combine ice cream mixture with diced strawberries and coconut flakes in a small bowl
– Freeze ice cream mixture overnight or until solid

IMG_1641

PB Banana Chocolate
(2 servings)

Ingredients:
– 2 bananas, sliced and frozen
– 2 tbsp peanut butter
– 2 tbsp chocolate chips
– 2 tbsp peanuts, chopped

Instructions:
– Add frozen banana and peanut butter in a food processor and blend until smooth
– Combine ice cream mixture with peanuts and chocolate chips in a small bowl
– Freeze ice cream mixture overnight or until solid

IMG_1647


Homemade Yogurt

IMG_1299

My husband and I carpool to work. We haven’t always, but over past year we have been lucky enough to both work in the same general area, which happens to be about ten minutes from home! I love carpooling – we save a bit of money on gas and my husband makes me laugh before 7 AM just about every day. Because we are so close to home, we usually head there for our lunch break (bonus: that means I don’t have to spend time thinking about what to bring for lunch).

IMG_1264

About two weeks ago we were on our way home for lunch and a commercial came on for a one day sale at The Bay. Le Crueset French Ovens on sale for $159, regular $400!!! I have been dreaming about a french oven for quite some time and that was a smokin’ deal (in my personal opinion). Long story short I immediately got Alex to turn the car around and head straight to The Bay.

Homemade yogurt was one of the main reasons I was wanting to purchase a french oven. I had no idea how easy it was to make yogurt at home until about a month ago when I came across an article from The Kitchn. For those of you who know me well, you know that I can be very frugal when it comes to grocery shopping. Yogurt was one of the products that I feel is totally overpriced. $7 for a tub of greek yogurt seems a little high – am I right?! Needless to say, I will NOT be purchasing yogurt again anytime soon cause I am totally pumped about what I can make with a 2 L of milk and a little bit of patience, right in my own kitchen.

Here is what you need:

  • French oven or heavy sauce pan with lid
  • Instant read thermometer
  • 2 L of milk (I used 1% cow’s milk)
  • 1/2 cup of plain commercial yogurt with bacterial cultures (I used a plain non-fat PC brand greek yogurt)

IMG_1283

IMG_1281

IMG_1285

IMG_1287

Instructions:

  1. Heat the milk over medium heat. Stir gently throughout to avoid the milk from scorching.
  2. Once the milk reaches 200 degrees F – remove from heat. Allow the milk to cool to 115 degrees F. Stir occasionally to help reduce the temperature  more quickly or put the french oven in an ice bath.
  3. Remove 1 cup of warm milk and combine with 1/2 cup of commercial yogurt in a separate bowl. Whisk until smooth.
  4. Pour the thinned yogurt back into the warm milk and whisk gently.
  5. Cover with a lid and transfer into a room temperature oven (I tried this after cooking something in the oven and it was too hot and did not work!). Turn on the oven light to keep the milk warm while it sets.
  6. Let yogurt sit overnight. Avoid stirring the yogurt until it has fully set.
  7. Once the yogurt is set – remove it from the oven and drain off any whey from the surface of the yogurt.
  8. Whisk the yogurt prior to transferring into jars for a smooth and cohesive texture. Cover and refrigerate.
  9. Make sure to save 1/2 cup of your homemade yogurt to use in your next batch! The yogurt will stay good in the fridge for about two weeks.

This is a traditional yogurt – not a greek yogurt! If you want a thicker texture you can drain out some of the whey using a strainer and a cheese cloth, use a higher fat milk, or add 1 cup of skim milk powder to the fluid milk during the cooking process.

IMG_1303

PS. I added 1/4 tsp of coconut extract and 1 tsp of granulated stevia to 3/4 cup of homemade yogurt and topped it with toasted coconut and sliced strawberries and it was pretty unbelievable. I’m on the coconut bandwagon and I am NOT getting off. But really, the sky is the limit when it comes to mix ins!

Almond Roca Chickpea Muffins

So I’ve had quite the weekend….Thursday evening I had my second playoff game (I play in an old ladies ringette league) and we were playing the first place team. We’ve played this team two to three times previously and we generally lose by about ten goals. In some weird twist of fate we were tied 4-4 at the end of the 2nd period (we only play two periods in ringette). With 15 seconds left in overtime, I was racing down the ice towards the ring, circling around the net and I caught an edge and went shoulder first into the boards. As I was skating back to the bench I noticed a bone sticking out of the top of my shoulder that doesn’t usually do so. My first thought was dislocated shoulder. Luckily, my mom and my husband were watching the game and they quickly shuttled me to the emergency department. I made it into a room quickly….apparently the crying and hyperventilation speeds things up a little. Long story short, I have a Grade 4 AC (clavicle) dislocation. Which means I can no longer dress myself, brush my teeth properly or effectively wash my hair. So in other words I had a team of people help bake, photograph and blog about these unbelievable muffins (Big shout out to:  Sam, Steph, Karly, my husband and my mom). And in case you are wondering, we won in a shoot out (that makes the injury slightly more bearable).

Now let’s talk about these amazing muffins. Our Chickie Dough feature flavor this month was Almond Roca and I had a slight obsession with it, which is why I wanted to immortalize them in a muffin. These muffins are special for a few reasons: they are made with chickpeas, have a combo of oil, avocado and greek yogurt as the fat source and they taste totally indulgent and fudgy. I’ve tried making these with splenda and brown sugar and the version with brown sugar are a thousand times better, so I wouldn’t suggest subbing this ingredient out. And here we go.

IMG_1039

Ingredients:

1 can of chickpeas (drained and rinsed)
2 eggs
1/4 cup canola oil
1/4 cup plain greek yogurt
1/2 avocado
3/4 teaspoon almond extract
1/2 cup almond flour
1/2 cup whole wheat flour
1/2 cup brown sugar
2 teaspoons baking powder
1/3 cup cocoa powder
1/4 cup skor bits
Chopped almonds

IMG_0986

IMG_1009

IMG_1013

IMG_1023

IMG_1032

Instructions:

  • Preheat the oven to 325 degrees F. and prepare your muffin tin.
  • Add the first 6 ingredients into a blender or food processor and mix until smooth.
  • In a separate bowl, combine the next 5 ingredients.
  • Add the wet ingredients into the dry ingredients and mix well (I used my mixer for this step).
  • Add the skor bits and mix to combine.
  • Scoop batter evenly into muffin tin and top with chopped almonds (my almonds were pre-roasted).
  • Bake muffins for 35 minutes or until knife comes out clean.

Enjoy!

Makes 12 Muffins
Nutrition Facts (1 Muffin): 190 calories, 8 grams fat, 1 gram saturated fat, 0.1 gram trans fat, 32 mg cholesterol, 157 mg sodium, 26 grams carbs, 3 grams fibre, 10 grams sugar, 6 grams protein.

Week in Review

So I’m not sure if you’ve heard… but my New Year’s resolution was to become a morning person. When I told Alex & my mom & my friends they all looked at me like I was an idiot & proceeded to tell me it was never going to happen. I like to sleep a lot more than the average individual. Prior to this little experiment I would have told you that I need at LEAST 8-9 hours of sleep to function as a contributing member of society. Now I would say it’s probably more like 7-8 hours. I have been extremely successful thus far & now have the time to not only make dinner on a more regular basis but also make it to the gym (which probably has something to do with me being energetic on 7-8 hours of sleep)! Here are the recipes I tried out last week. There is a good mixture of vegetarian & animal proteins, in my opinion.

Easy BBQ Tofu

Tofu

Ingredients:

  • 1 package firm tofu
  • 1 Tbsp olive oil
  • Salt and pepper to taste
  • Garlic powder to taste
  • 1/4 cup of BBQ sauce (I used Kraft low calorie)

Instructions:

  1. Preheat a skillet over medium-high heat. Slice tofu into rectangles.
  2. Add oil to the skillet and then the tofu. Spread tofu out into a single layer, season with salt, pepper, and garlic powder, and fry for about 5 minutes over medium-high heat.
  3. Flip each piece of tofu and fry for another 5-6 minutes, or until golden all over.
  4. Remove from heat and stir in the BBQ sauce to coat the tofu. Serve immediately with more sauce on the side if desired.

I served this with gourmet (kidding) minute rice (Alex’s favourite) & steamed broccoli with chipotle salt!

Adapted from Oh She Glows

Italian Bean Balls

beanballs

Ingredients:

  • 3/4 cup walnuts, finely chopped and toasted
  • 3/4 cup rolled oats, processed into a coarse flour
  • 1 cup shredded carrot
  • 1/2 cup fresh parsley, finely chopped
  • 2 Tbsp dried basil
  • 3 large garlic cloves, minced
  • 1 (15 oz) can kidney beans, drained and rinsed
  • 1 egg
  • 1/2 Tbsp olive oil
  • 1 tsp dried oregano
  • Salt to taste
  • Pepper to taste
  • 1/4 tsp smoked paprika

Directions:

  1. Preheat the oven to 350F and line a large baking sheet with parchment paper. Toast the walnuts for 7-9 minutes until fragrant and golden.
  2. Meanwhile, add the oats into the food processor and process until finely chopped. You want the texture to be like a coarse flour.
  3. Add the grated carrot, chopped parsley, basil, garlic, walnuts, and oat flour into a large bowl. Stir to combine.
  4. Add the drained and rinsed beans into the food processor and process until finely chopped. You want the mixture to be a coarse paste with some beans still intact, but don’t completely puree the mixture. Stir the processed beans & egg into the bowl with the vegetables & oat flour.
  5. Stir the oil, oregano, salt, pepper, and paprika into the bowl.
  6. Shape the mixture into 18-20 balls (the size of golf-balls), packing each ball tightly between your hands so it holds together well. Place each ball onto the prepared baking sheet an inch or two apart.
  7. Bake for 20 minutes, then gently flip the balls and bake for another 15-20 minutes until golden on both sides.
  8. Serve with spaghetti squash & pasta sauce

Adapted from Oh She Glows

Roasted Tomato & Chicken Flatbread with Cashew Cheeze

flatbread

Ingredients:

roasted tomatoes:

  • 2 lb tomatoes, chopped
  • 1/2 Tbsp olive oil
  • 1/2 Tbsp balsamic vinegar
  • Salt & pepper to taste

basil cashew cheese:

  • 2 garlic cloves
  • 1 cup loosely packed fresh basil
  • 1/4 cup roasted tomatoes (from above)
  • 1 cup raw cashews, soaked in water for at least 1 hour
  • 2 Tbsp lemon juice
  • 1 1/2 Tbsp olive oil
  • 2 Tbsp water
  • 2 Tbsp nutritional yeast
  • Salt to taste

Crust:

  • Large tortillas

Instructions:

  1. Place cashews in a bowl of water and soak for at least 1 hour. Rinse and drain before use. Preheat the oven to 375F and line a baking sheet with parchment paper. Chop tomatoes and place in a bowl and mix with olive oil, vinegar, and season with salt and pepper. Spread out on prepared pan and roast for about 30 minutes. Remove and reduce heat to 350F.
  2. For the sauce: In a food processor, mince garlic cloves. Add the basil followed by the roasted tomatoes and drained and rinsed cashews. Stop to scrape down the side of the bowl. Add in the rest of the ingredients and blend until super smooth. Season with salt.
  3. Place your desired amount of tortillas on baking sheet. Spread sauce on each tortilla followed by a generous amount of roasted tomatoes. Bake in the oven for 13-15 minutes at 350F or until crisp and golden. Serve immediately.

Adapted from Oh She Glows


Pork Chops with Peppered Apples & Warm Chard Slaw

 Porkchop

Ingredients:

  • 8 boneless fast-fry pork chops
  • 1/4 tsp salt
  • 1/4 tsp pepper
  • 2 tsp olive oil

Peppered Apples:

  • 1 Tbsp butter
  • 3 sweet-tart apples, cubed
  • 1/4 cup apple cider
  • 2 tsp honey
  • 1/2 tsp coarse pepper
  • 1 pinch salt

Warm Chard Slaw:

  • 2 tsp olive oil
  • 2 cloves garlic, minced
  • 2 tsp honey
  • 1 bunch Swiss chard, chopped
  • 2 tsp lemon juice
  • 1/4 tsp salt
  • 1/4 tsp pepper

Instructions:

  1. Peppered Apples: In skillet, melt butter over medium-high heat; cook apples, stirring often, until tender crisp, about 4 minutes. Stir in cider and honey; reduce heat to medium and cook, stirring occasionally, until apples are tender, about 5 minutes. Stir in pepper and salt. Set aside and keep warm.
  2. Sprinkle both sides of pork chops with salt and pepper. In large skillet, heat oil over medium-high heat; cook chops, in batches and turning once, until juices run clear when pork is pierced and just a hint of pink remains inside, 4 to 6 minutes. Transfer to plate; keep warm.
  3. Warm Chard Slaw: In same skillet, heat oil over medium heat; cook garlic, stirring, for 30 seconds. Stir in honey until melted. Stir in chard; cook, stirring occasionally, until wilted, about 3 minutes. Stir in lemon juice, salt and pepper. Serve with pork chops, apples & starch of your choice.

Adapted from Canadian Living

Shrimp & Tomato Stew with Lemon Orzo

 shrimpstew

Ingredients:

  • 2 tsp olive oil
  • 3 green onions, chopped
  • 2 carrots, diced
  • 3 cloves garlic, minced
  • 1/2 tsp pepper
  • 1/4 tsp salt
  • 1/2 tsp each smoked paprika, and ground cumin
  • Pinch hot pepper flakes
  • 1 can (796 mL) diced tomatoes
  • 1 bag peeled & deveined shrimp, thawed
  • 2 Tbsp chopped fresh parsley

Lemony Orzo:

  • 1 cup orzo pasta
  • 1/2 tsp grated lemon zest
  • 1 tbsp lemon juice

Instructions:

  1. In large nonstick skillet, heat oil over medium heat; cook leek, carrot and fennel, stirring occasionally, until softened and light golden, about 7 minutes. Stir in garlic, half each of the pepper and salt, the paprika, cumin and hot pepper flakes; cook, stirring, until fragrant, about 1 minute.
  2. Stir in tomatoes and 1/2 cup water; bring to boil. Reduce heat and simmer, stirring occasionally, until thickened, 6 to 8 minutes.
  3. Sprinkle shrimp and scallops with remaining pepper and salt. Stir into tomato mixture; cook, stirring occasionally, until shrimp are pink and scallops are opaque, 5 to 7 minutes. Stir in parsley.
  4. Lemony Orzo: Meanwhile, cook orzo according to package directions; drain. Stir in lemon zest and lemon juice. Serve with stew.

Adapted from Canadian Living

Fresh Start to the Year – Inspired by Oh She Glows

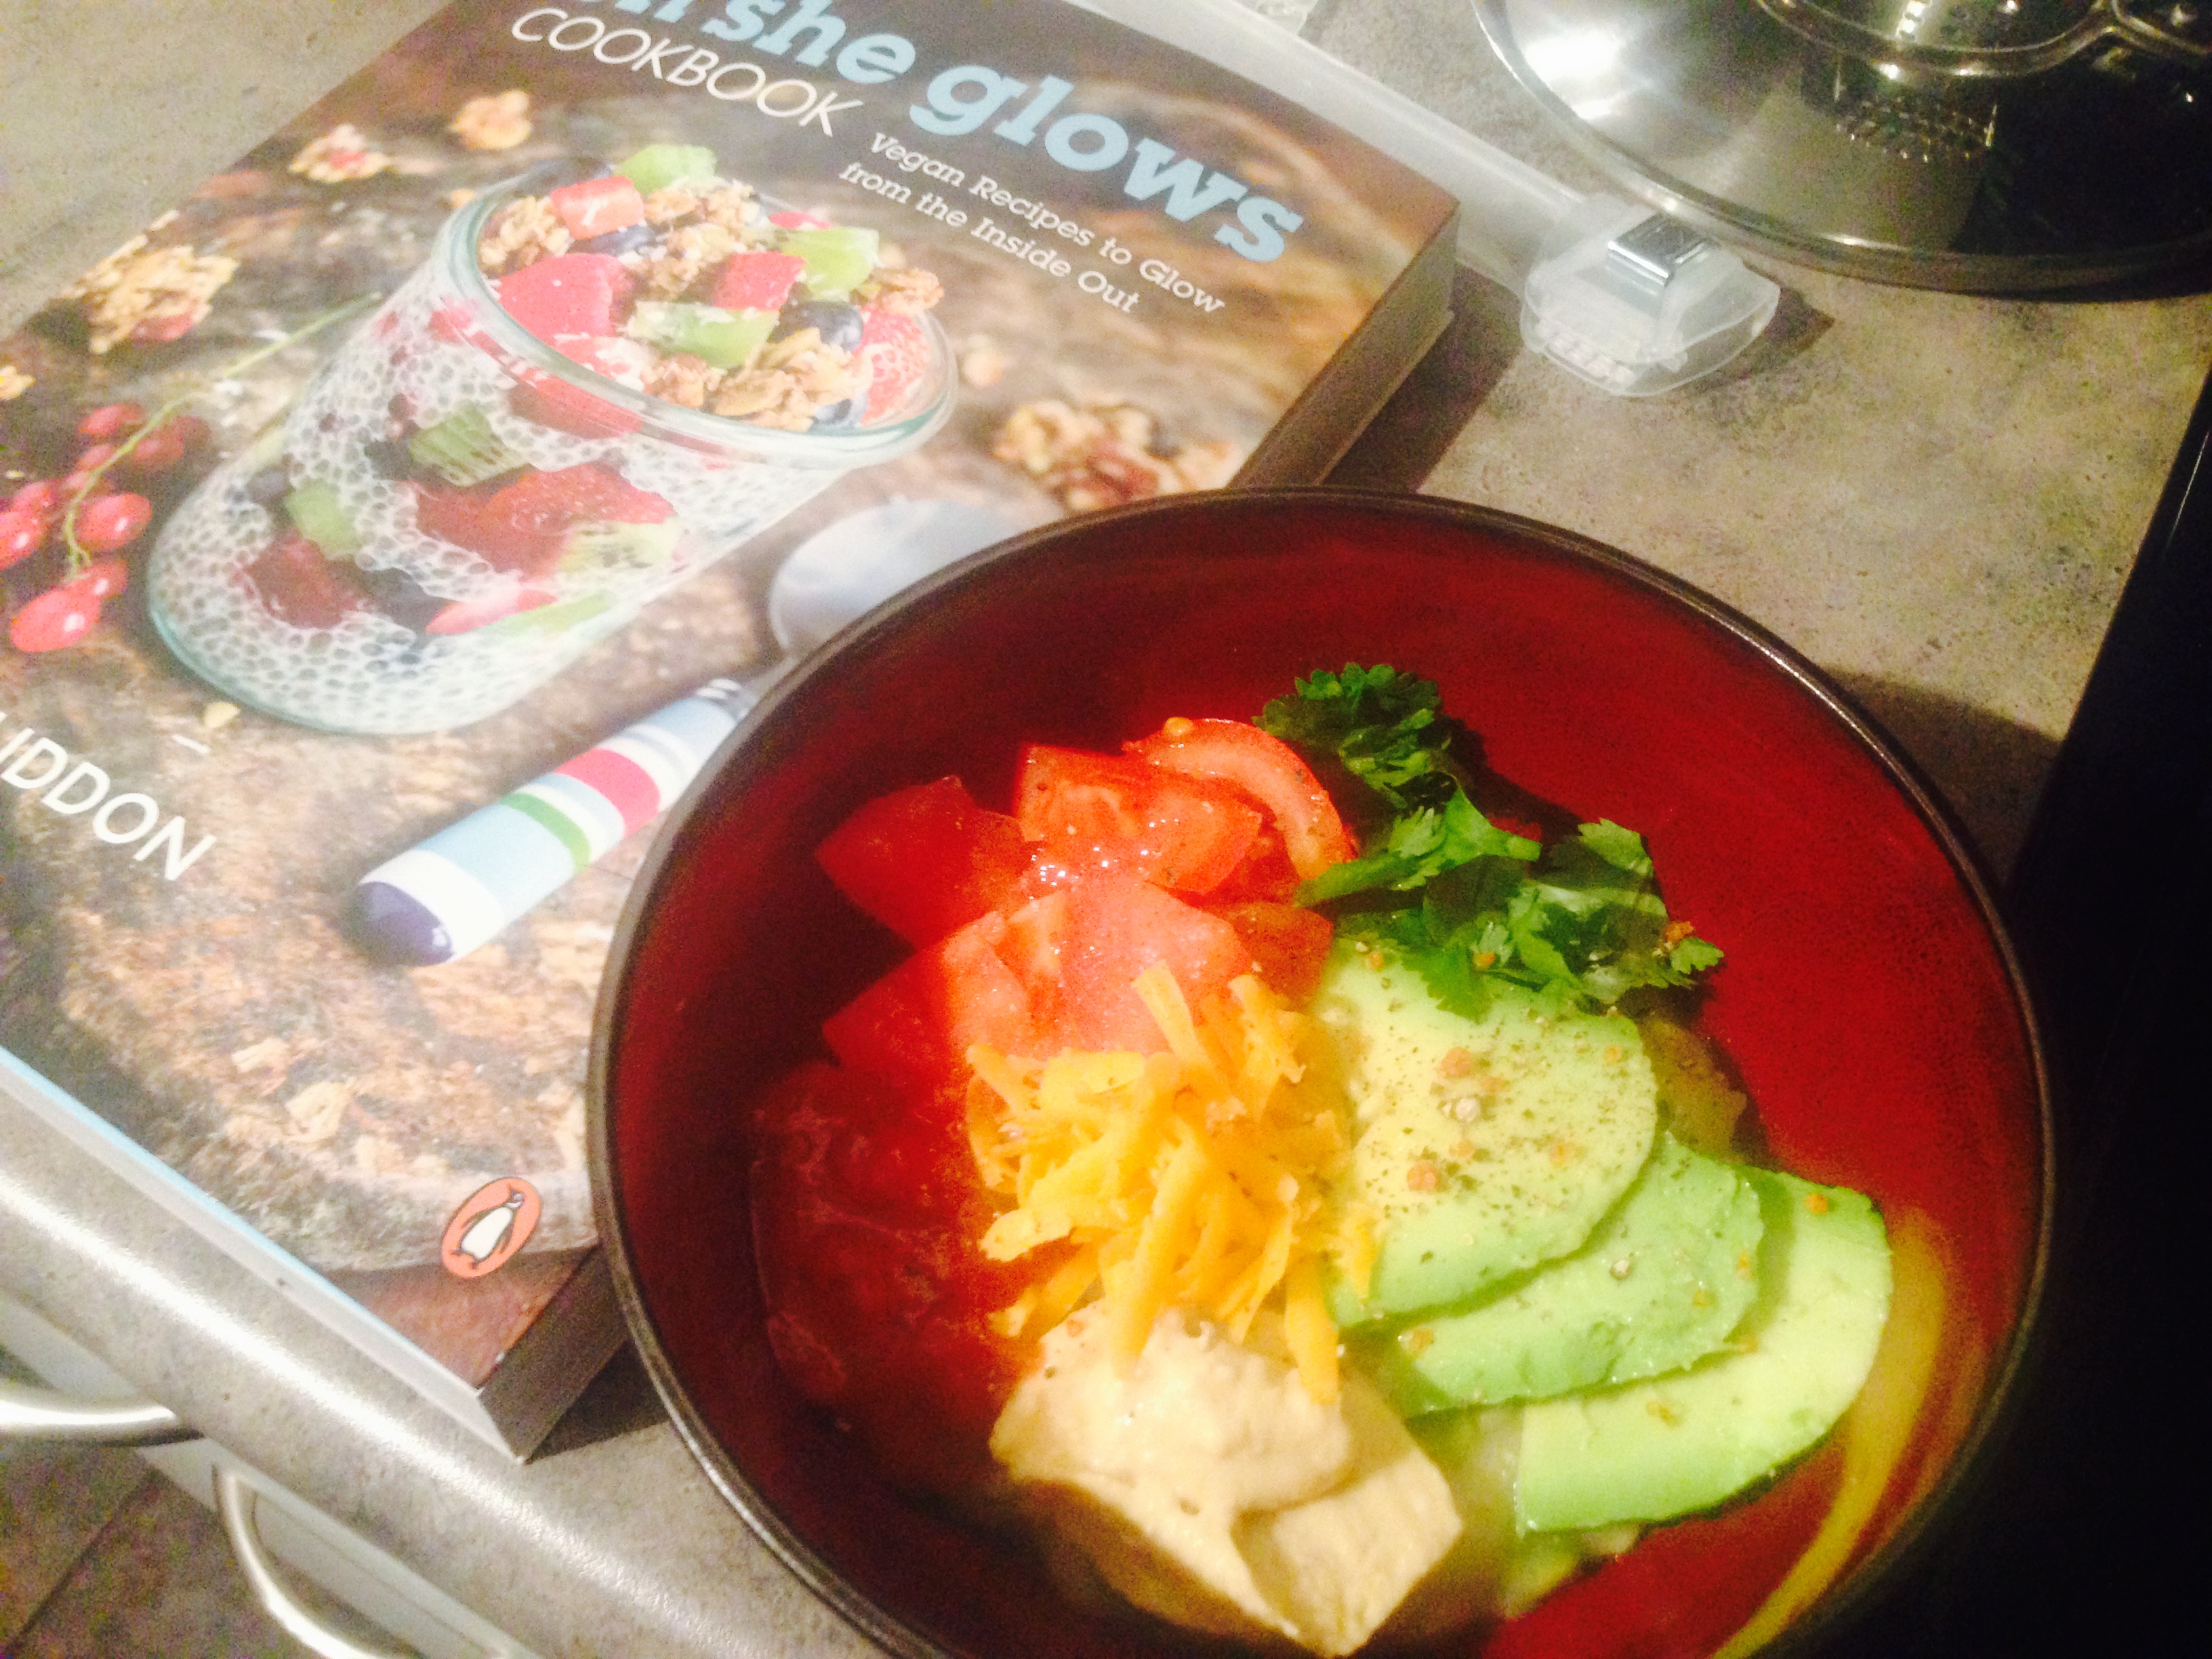
I had the best holiday season this year! Between relaxing on the beach in Mexico, spending time with family and friends, and eating four (yes, four!) big dinners I couldn’t ask for anything else. I got absolutely spoiled beyond belief (still cashing in on having divorced parents at 25 years old) but I have to say that one of my favorite gifts this year was the Oh She Glows cookbook by Angela Liddon. I have been following the Oh She Glows blog for the past 6 years and I absolutely love everything about it. She has a really cool story including overcoming an eating disorder, starting a small business selling Glo Bars at the Farmer’s Market, and eventually transitioning to a full time job creating recipes, taking photos of her food, and blogging about it! Although I don’t follow a vegan diet, I find her recipes so creative and super tasty! I usually make easy non-vegan swaps such as using cow’s milk instead of plant milk, regular eggs instead of flax eggs, regular cheese instead of vegan cheese.. you get the idea.

So for the first week of post Christmas gluttony I decided to plan all of my meals out of my new cookbook! Alex loved the sound of all the recipes right until I let it slip that we should probably add meat to one of the meals, considering they’re all vegan…”That’s a vegan cookbook?! If I would have known that I wouldn’t have told my brother to buy it for you!!” Needless to say, when all was said and done he was more than satisfied with everything he ate!

PS. I have added/changed a few thing as compared to the original recipes.

Here is our week in review:

Cream of Tomato Soup with Roasted Italian Chickpea Croutons

tomatosoup

Ingredients:

Chickpea Croutons
– 1 (15 oz) can of chickpeas, drained and rinsed
– 1 tsp olive oil
– 1/2 tsp dried oregano
– 1/8 tsp of paprika
– 1 tsp garlic powder
– 1/4 tsp onion powder
– salt to taste

Tomato Soup
– 1 Tbsp olive oil
– 1 small onion, diced
– 2 cloves garlic, minced
– 1/2 cup raw cashews, soaked (overnight)
– 2 cups vegetable broth
– 1 (28 oz) can whole peeled tomatoes, with their juice
– 1/4 cup oil-packed sun-dried tomatoes, drained and rinsed
– 4 Tbsp tomato paste
– 1 tsp dried oregano
– salt to taste
– 1/2 tsp black pepper

Instructions:

– Preheat oven to 425 degrees F and dry chickpeas thoroughly with paper towels.
– Transfer chickpeas to a bowl and combine with olive oil, oregano, paprika, garlic powder, onion powder, and salt.
– Line baking sheet with parchment paper and spread chickpeas in even layer on the baking sheet.
– Bake for 15 minutes, shake pan from side to side and cook for 15 minutes more.
– Let cool on baking sheet for 5 minutes.

– In a large saucepan, heat olive oil over medium heat. Add onion and garlic and saute for 5 minutes.
– In a blender, combine soaked cashews and broth and blend on high until creamy.
– Add garlic/onion mixture, tomatoes, sun-dried tomatoes, and tomato paste and blend until smooth.
– Pour tomato mixture into saucepan over medium high heat. Bring to a simmer and stir in oregano, salt, and pepper.
– Top soup with 1/2 cup of chickpea croutons and enjoy!

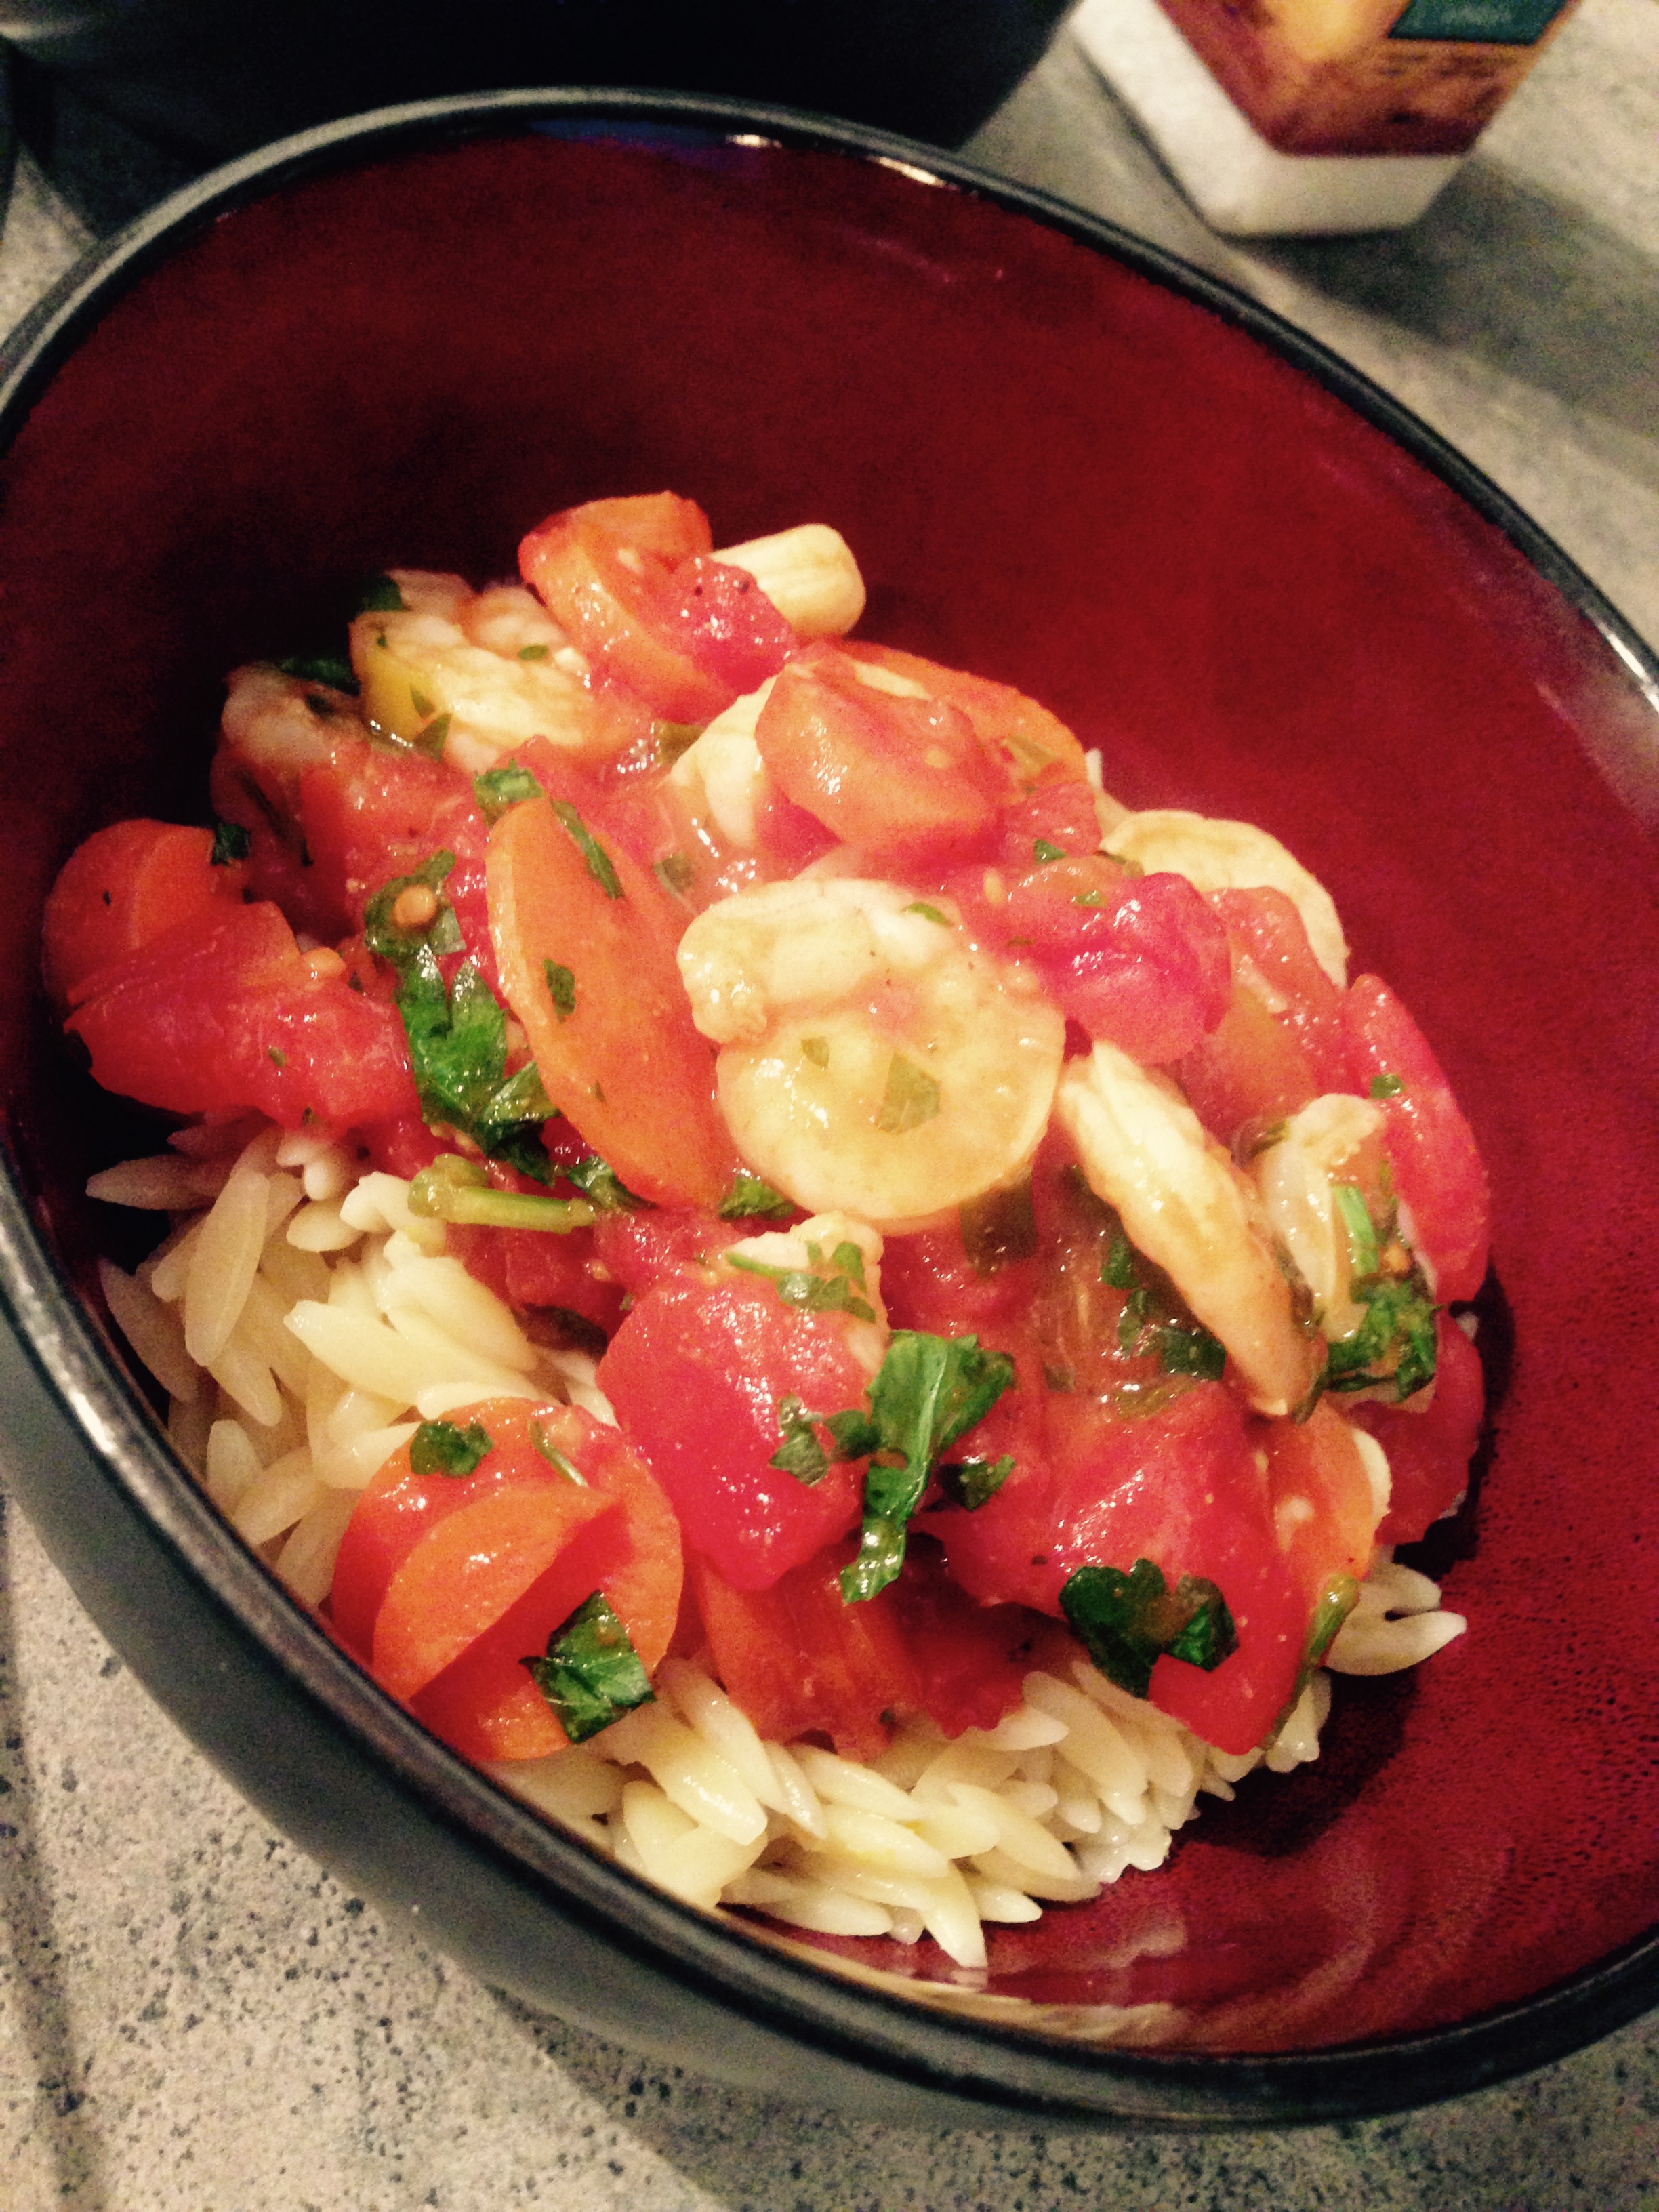
Empowered Noodle Bowl with Thai Peanut Sauce

noodlebowl

Ingredients:

Peanut Sauce
– 1 clove garlic
– 2 Tbsp sesame oil
– 3 Tbsp peanut butter
– 2 tsp fresh ginger, grated
– 3 Tbsp lemon juice
– 2 1/2 Tbsp soy sauce
– 2 tsp brown sugar

Salad
– 2 chicken breasts, cooked and diced
– 4 oz soba noodles
– olive oil for the noodles
– 1 (16 oz) bag edamame beans, shelled
– 1 red bell pepper, diced
– 1/2 cucumber, diced
– 1 carrot, diced
– 4 green onions, chopped
– 1/4 cup cilantro, chopped
– sesame seeds, for serving

Instructions:

– In a food processor, combine garlic, sesame oil, peanut butter, ginger, lemon juice, soy sauce, sugar, and 3 Tbsp water. Process until combined.
– Cook the soba noodles according to package instructions. Be sure not to overcook them. Drain the noodles and rinse under cold water. Transfer to a large bowl and drizzle with olive oil (to prevent noodles from sticking).
– Add chicken, edamame, pepper, cucumber, carrot, green onion, and cilantro to noodles. Toss until well combined.
– Garnish with sesame seeds.

Loaded Savory Oatmeal and Lentil Bowl

Savouryoatmeal

Ingredients:

– 1/3 cup rolled oats
– 1/4 cup green lentils
– 1 3/4 cup vegetable broth
– 1 clove garlic, minced
– 3 Tbsp onion, diced
– Salt and pepper, to taste

Toppings
– Salsa
– Hummus
– Tomato, chopped
– Cheddar cheese, shredded
– Cilantro, chopped
– Chipotle salt

Instructions:

– In a medium saucepan, combine the oats, lentils, broth, garlic, and onion. Bring the mixture to a low boil over medium high heat. Reduce the heat to low and simmer, uncovered, for 12 minutes, or until thickened. Season with salt and pepper.
– Add desired toppings.
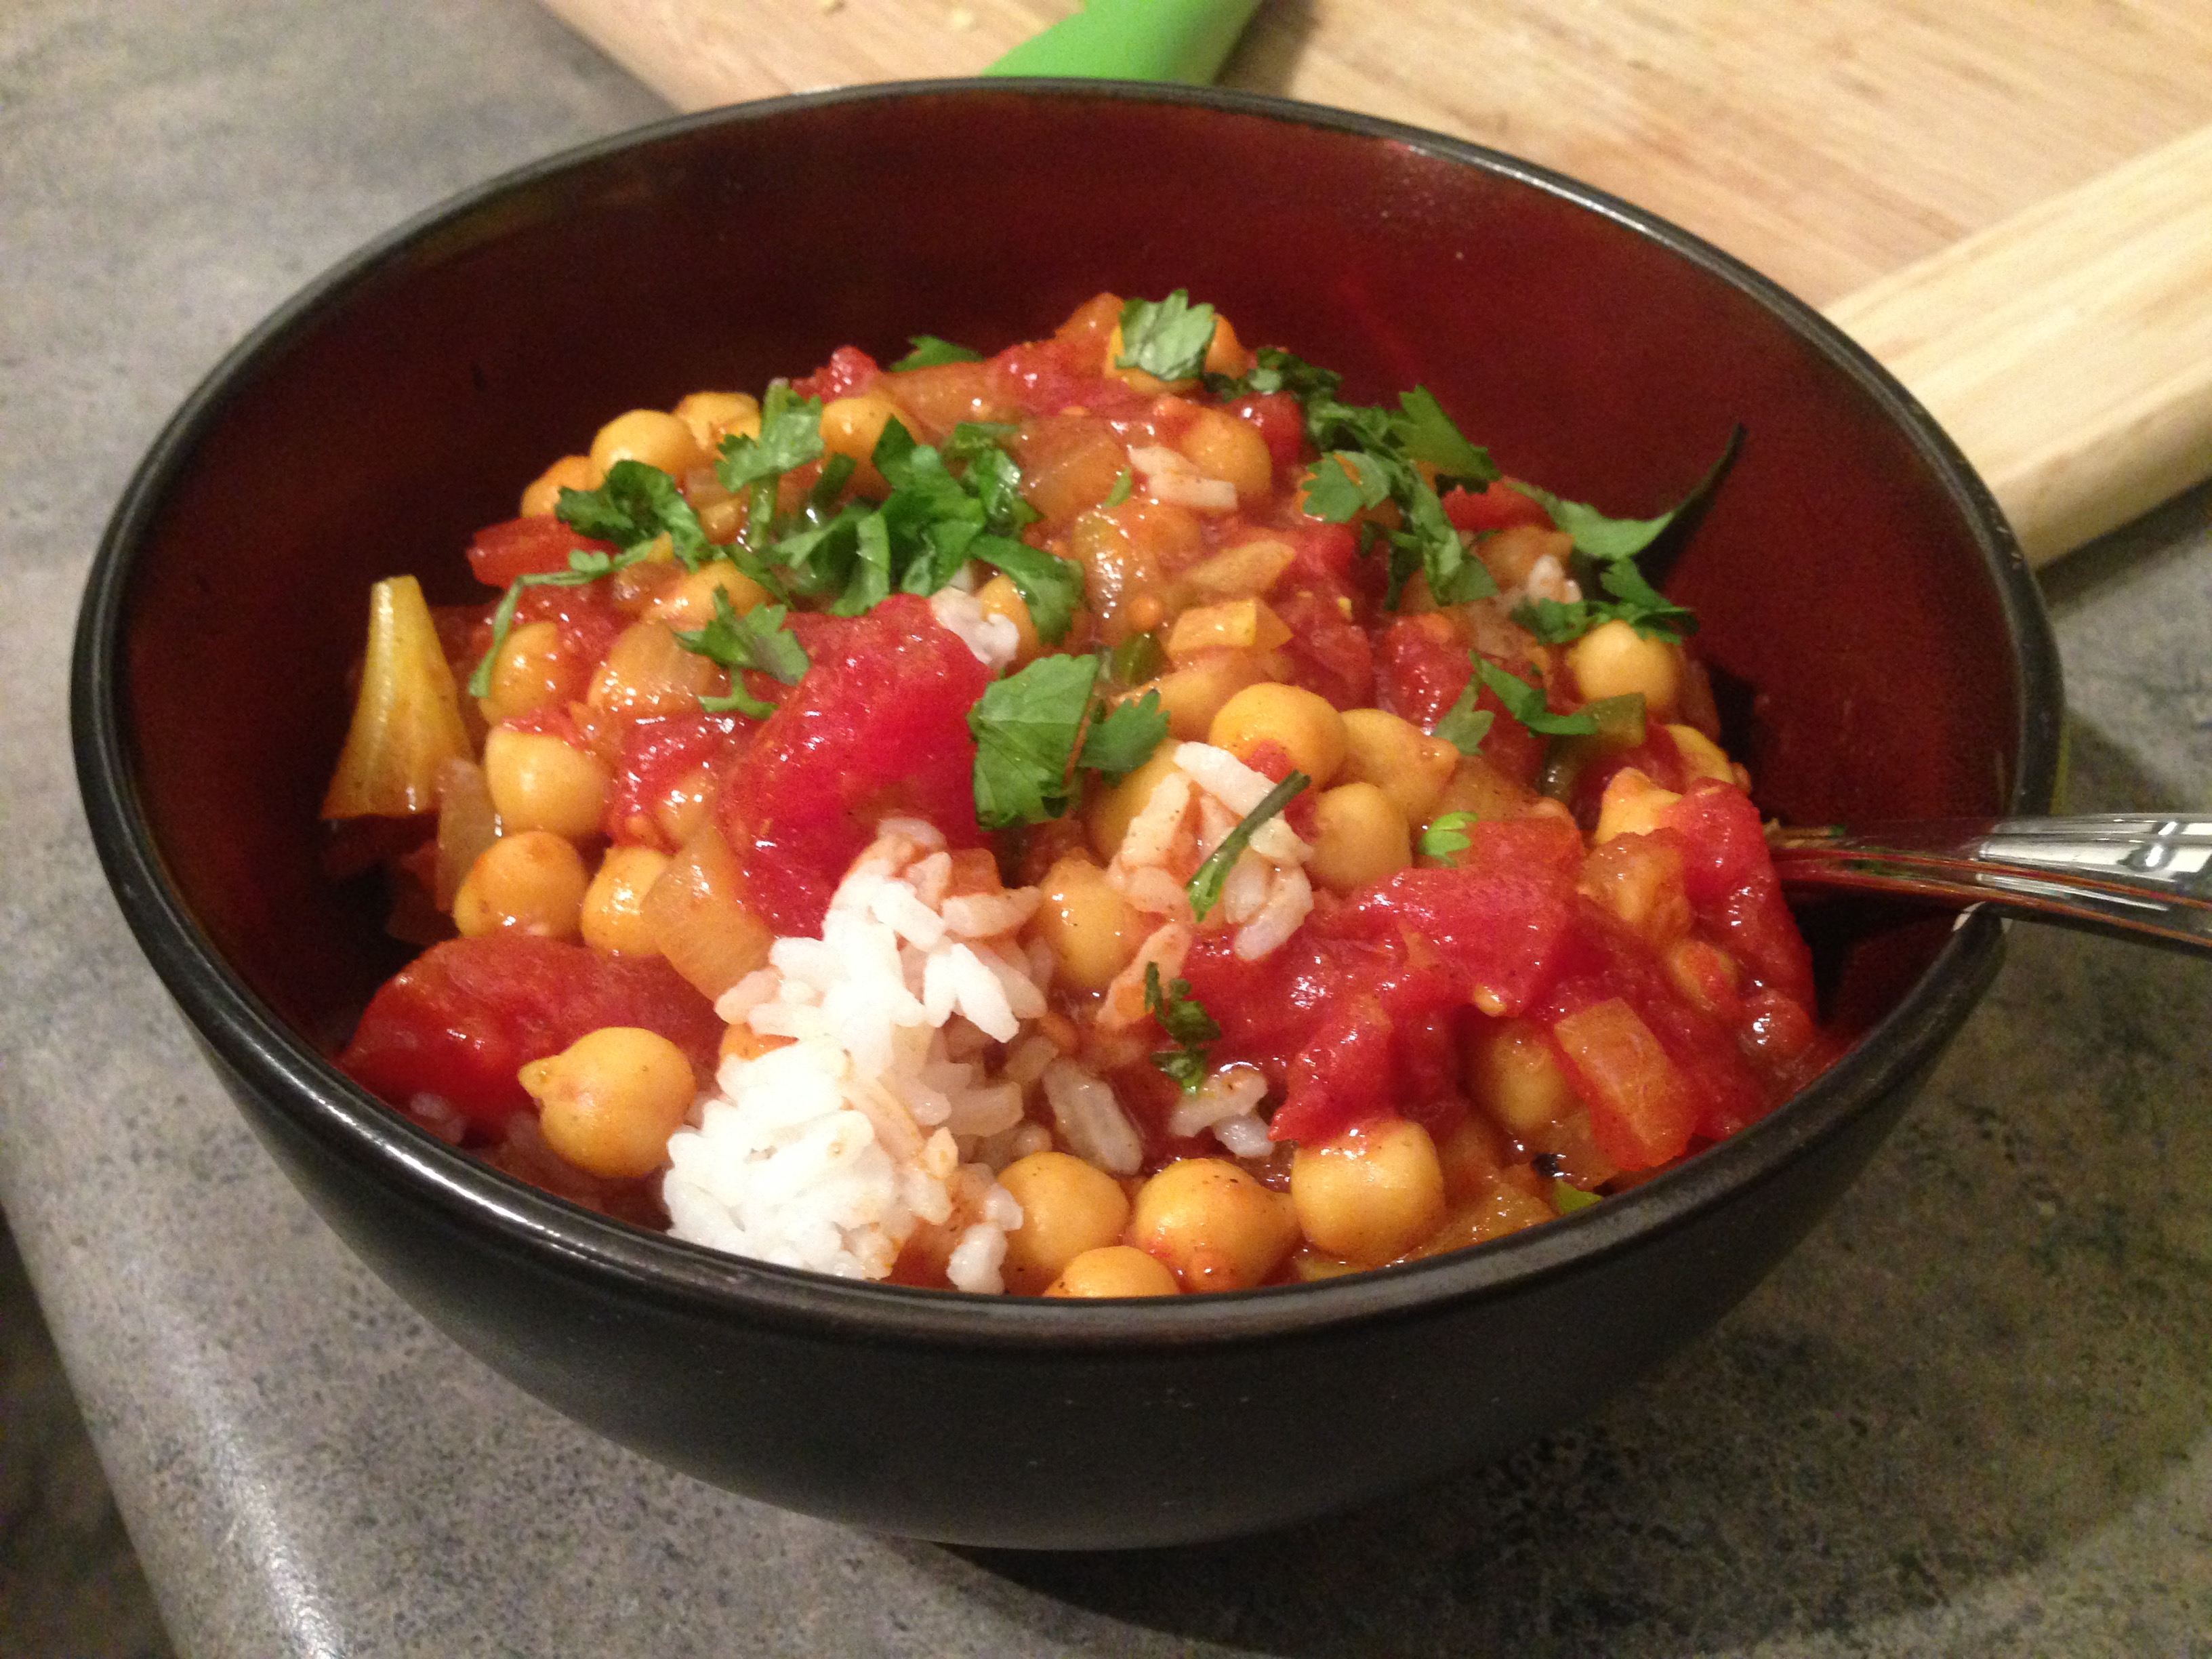
Chana Masala

Chala

Ingredients:

– 1 Tbsp olive oil
– 1 1/2 tsp cumin
– 1 onion, diced
– 1 Tbsp garlic, minced
– 1 Tbsp ginger, grated
– 1 serrano pepper, minced
– 1 1/2 tsp garam masala
– 1 1/2 tsp coriander
– 1/2 tsp tumeric
– salt to taste
– 1/4 tsp paprika
– 1 (28 oz) can diced tomatoes
– 3 cups chickpeas, drained and rinsed
– Lemon juice
– Cilantro, chopped

Instructions:

– In a large saucepan, saute the onion, garlic, ginger, and serrano in olive oil. Cook for a few minutes and add garam masala, cumin, coriander, tumeric, salt, and paprika and cook for 2 minutes.
– Add diced tomatoes, raise heat to medium high and add the chickpeas. Simmer for 10 minutes.
– Serve over rice and top with lemon juice and fresh cilantro.

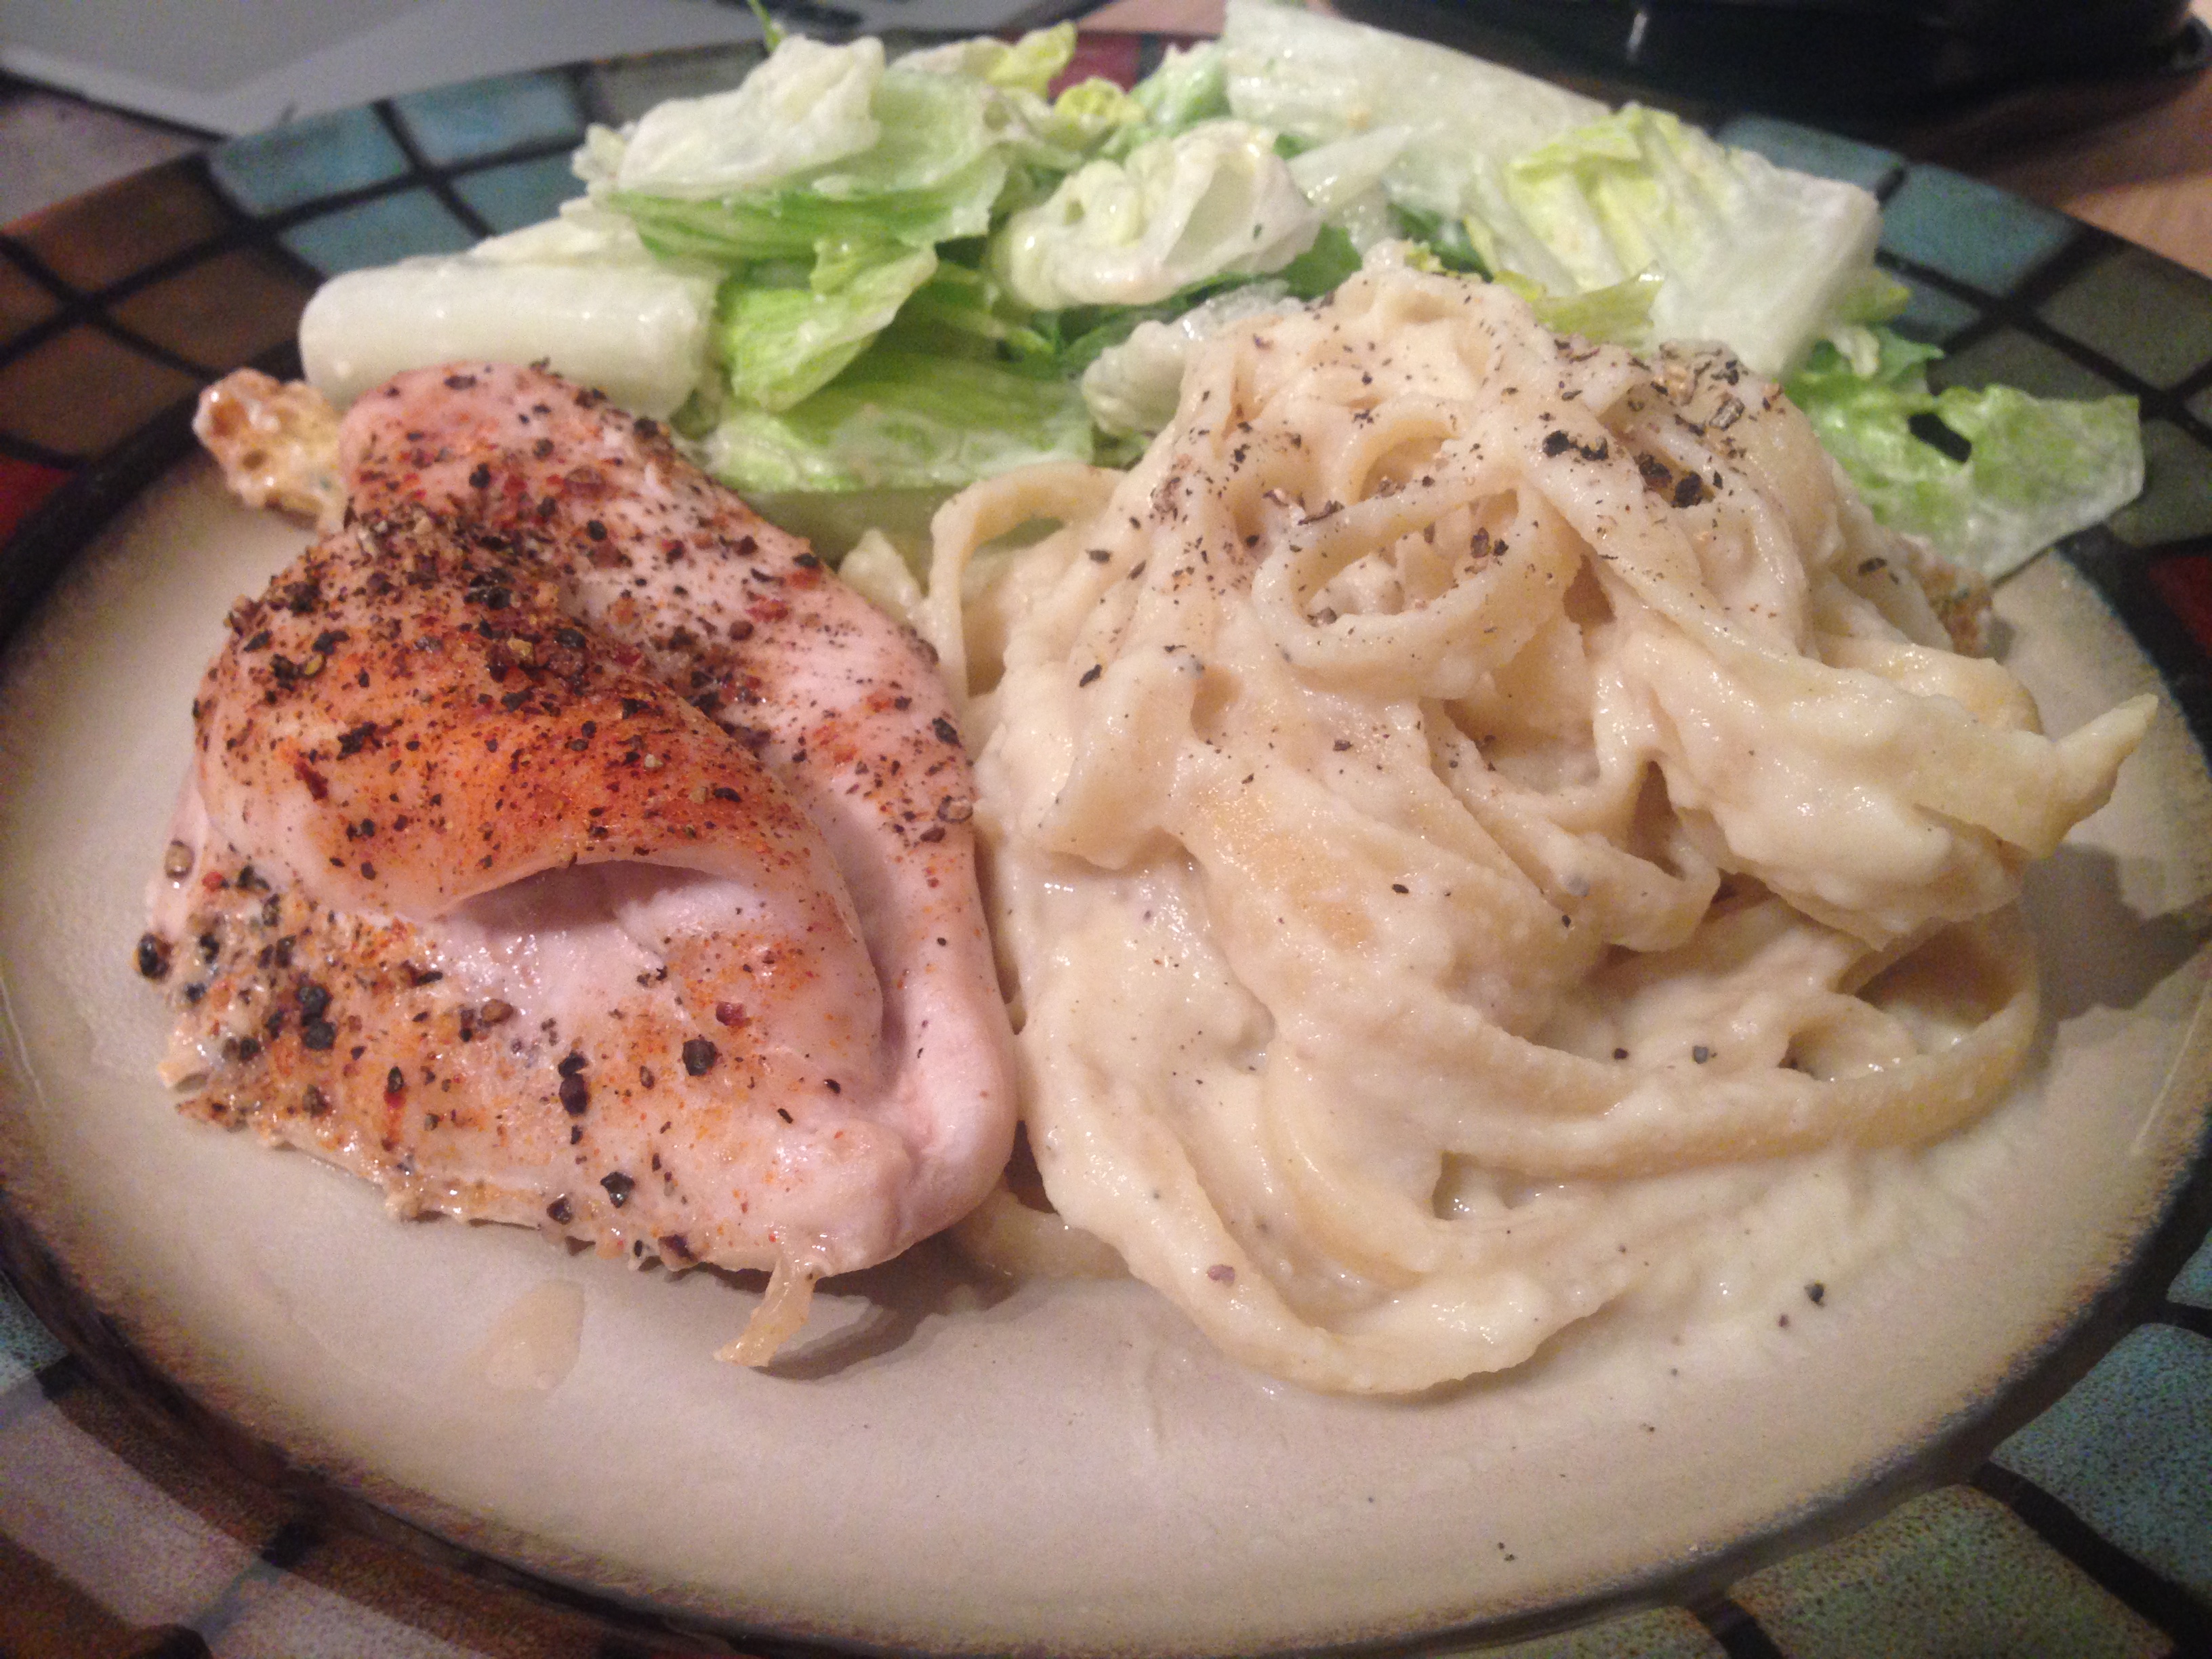
Caulipower Fettuccine Alfredo

Serve along side a baked chicken breast and Caesar salad!

caulipower

Ingredients:

– 4 cups cauliflower florets (1 bag frozen florets)
– 1/2 tablespoon extra virgin olive oil
– 2 cloves garlic, minced
– 3/4 cup milk
– 1/3 cup nutritional yeast
– 1 tablespoon lemon juice
– 1/2 teaspoon onion powder
– 1/2 teaspoon garlic powder
– Salt to taste
– Pepper to taste
– Whole wheat fettuccine

Instructions:

– Add cauliflower florets to a large bowl, add water and microwave for 5 minutes or until heated through.
– Meanwhile, add oil into a skillet and saute the minced garlic over low heat for 4-5 minutes until softened and fragrant.
– In a blender, add the cooked and drained cauliflower, sauteed garlic, milk, nutritional yeast, lemon juice, onion powder, garlic powder, salt, and pepper. Blend until a super smooth sauce forms. Set aside.
– Bring a large pot of water to a boil. Add your desired amount of pasta and boil for the time instructed on the package. Drain pasta.
– Add cauliflower sauce into the pot and add the drained pasta. Heat over low until heated through. Salt to taste.

Chocolate Hazelnut Spread!!

I recently came across a recipe for homemade Nutella…this is BIG news for me as I have a little bit of a love affair with the chocolate and hazelnut combo. Nutella, hedgehogs, bacio ice cream – the list continues. Any excuse to indulge in chocolate hazelnut spread is a good one, but I can now say that this little gem is a part of my regular and healthy diet! By no means is this the real thing, but it tastes dang close when you put it alongside peanut butter in a sandwich 🙂

Image

Chocolate Hazelnut Spread
Adapted from Chocolate Covered Katie

Ingredients

2 cups raw hazelnuts
1 1/2 tbsp vanilla extract
1/4 cup cocoa powder
1/3 cup Splenda
pinch of salt
1/2 cup skim milk

Ingredients

Roast hazelnuts for 8 minutes at 400 F
Rub hazelnuts in a damp towel to remove skins
In a food processor, blend the hazelnuts until they’ve turned to butter
Add all other ingredients and blend until mixture has a smooth consistency

Enjoy!