Yesterday was National Ice Cream Day!!
If that doesn’t get you excited – then I’m not sure we should be friends…
(Just kidding! – but honestly…)
I LOVE ice cream – but really try to practice moderation in it’s presence. Lucky for me this ice cream is healthy enough to be consumed at breakfast, lunch and dinner (in my personal opinion)!
I clearly could not decide on just one flavor, so you’re getting two:
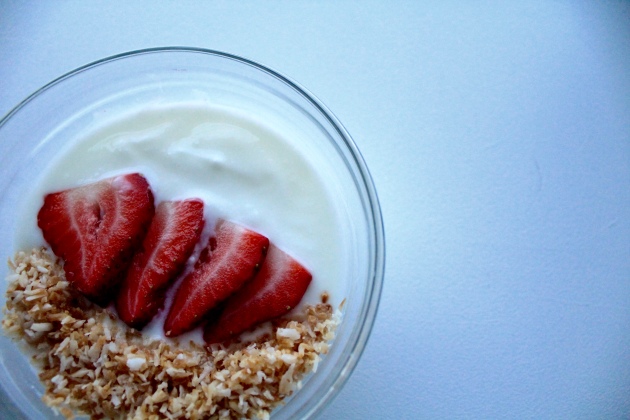
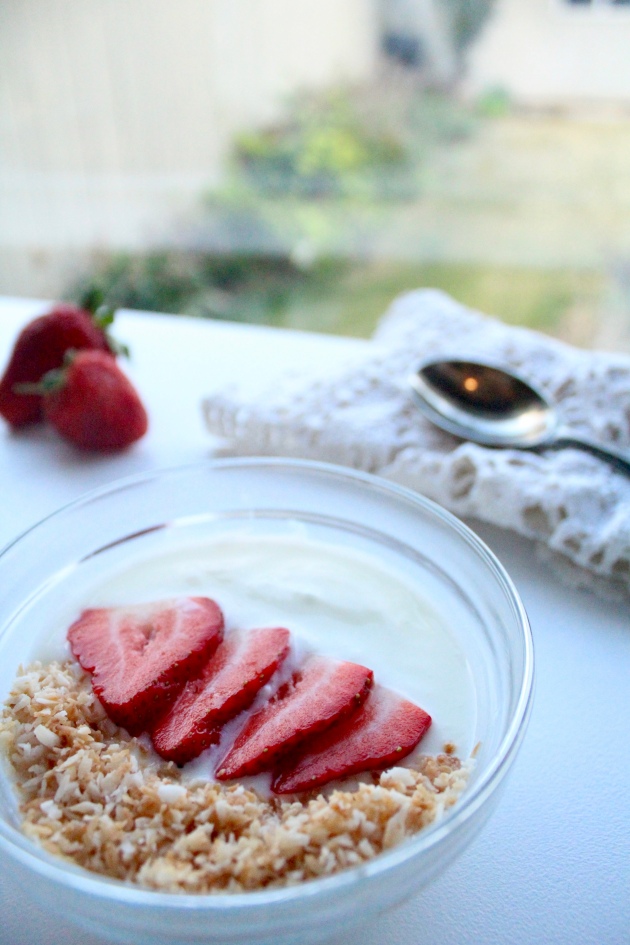
Strawberry Coconut Cream
&
PB Banana Chocolate

Strawberry Coconut Cream
(2 servings)
Ingredients:
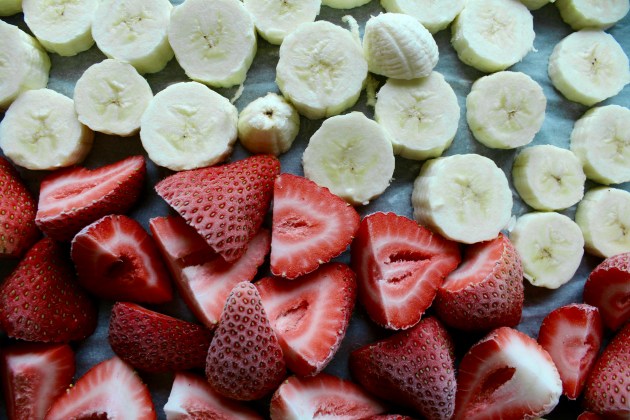
– 1 banana, sliced and frozen
– 8 strawberries, quartered and frozen
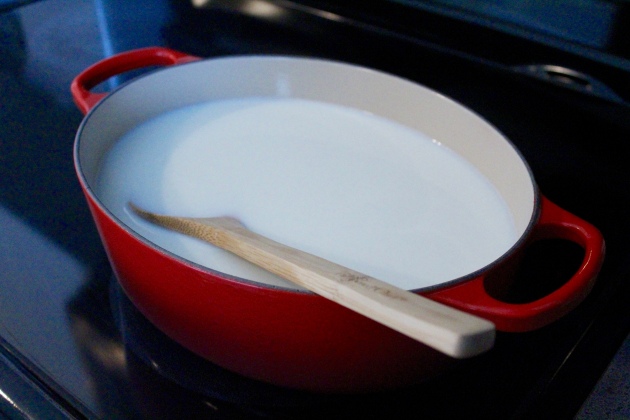
– 1/4 cup full fat coconut milk
– 3 strawberries, finely diced
– 2 tbsp coconut flakes
Instructions:
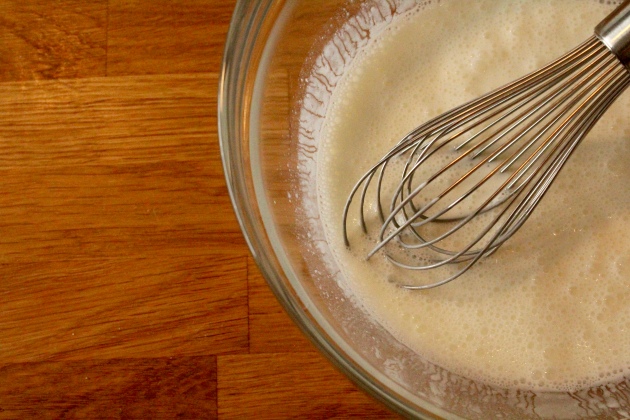
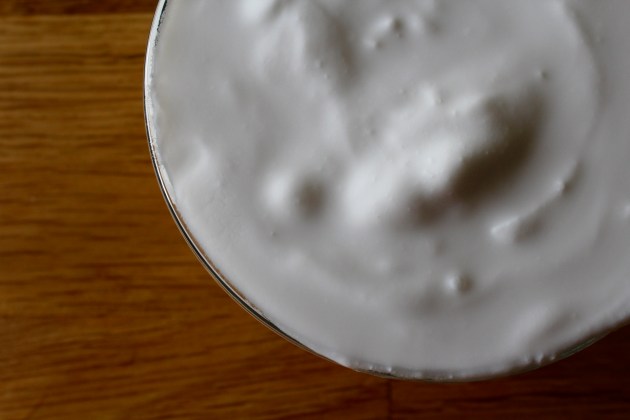
– Add frozen banana, frozen strawberries, and coconut milk in a food processor and blend until smooth
– Combine ice cream mixture with diced strawberries and coconut flakes in a small bowl
– Freeze ice cream mixture overnight or until solid

PB Banana Chocolate
(2 servings)
Ingredients:
– 2 bananas, sliced and frozen
– 2 tbsp peanut butter
– 2 tbsp chocolate chips
– 2 tbsp peanuts, chopped
Instructions:
– Add frozen banana and peanut butter in a food processor and blend until smooth
– Combine ice cream mixture with peanuts and chocolate chips in a small bowl
– Freeze ice cream mixture overnight or until solid