If you haven’t already heard, Karmel Walters and I are the RD duo behind Edmonton’s fav cookie dough hummus – Chickie Dough. The use of pulses in desserts and baked goods was NOT main stream by any means 2.5 years ago when Chickie Dough made it’s debut, but things are changing quickly (in large part due to WHO naming 2016 the International Year of Pulses). We have definitely gotten our fair share of crazy looks over the years as we ask if people would “like to try our cookie dough flavoured hummus.” But the way their eyes light up when they try it for the first time and realize it is actually ridiculously delicious make’s our job so much fun!
One of the MOST common questions I get is – how do you eat it? So, I thought it would be fun to do a quick blog highlighting three ways to eat Chickie Dough other than using it as a dip.

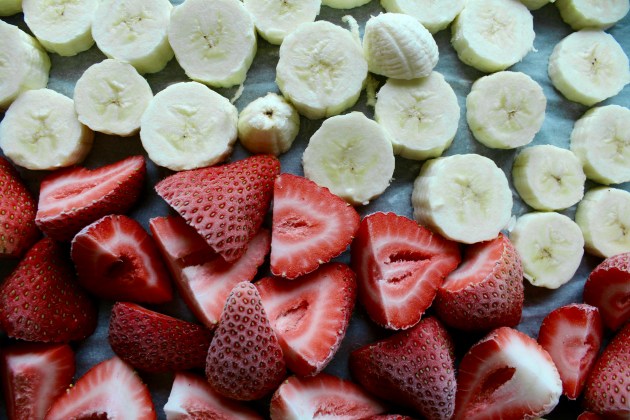
Chickie Dough Toast – those of you who have read a food blog or scrolled through Instagram in the last year know that toast is “so hot right now”. I’ve completely jumped on the bandwagon and I think Chickie Dough toast is just about the most decadent (but still nutritious) thing I’ve ever tasted. The best combo, in my personal opinion, is Chocolate Chip Chickie Dough with fresh strawberries on a grainy whole wheat bread. But honestly, the combinations are endless!
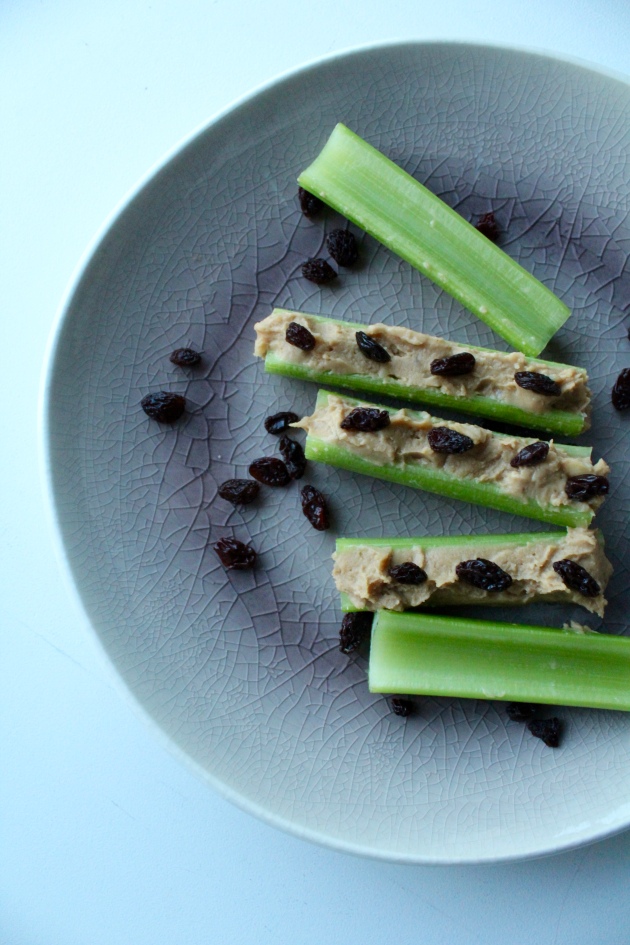
Chickie Dough Ants on a Log – now this one is something that I tell people to try all the time, but I have this strange feeling that no one ever does. You really should. Seriously. Peanut Chickie Dough is the flavor with the least amount of sugar, making it extremely versatile and the PERFECT filling for crisp celery. It makes for a super light, but satisfying snack after work or a guilt free treat after dinner when you are trying to curb your sweet tooth.
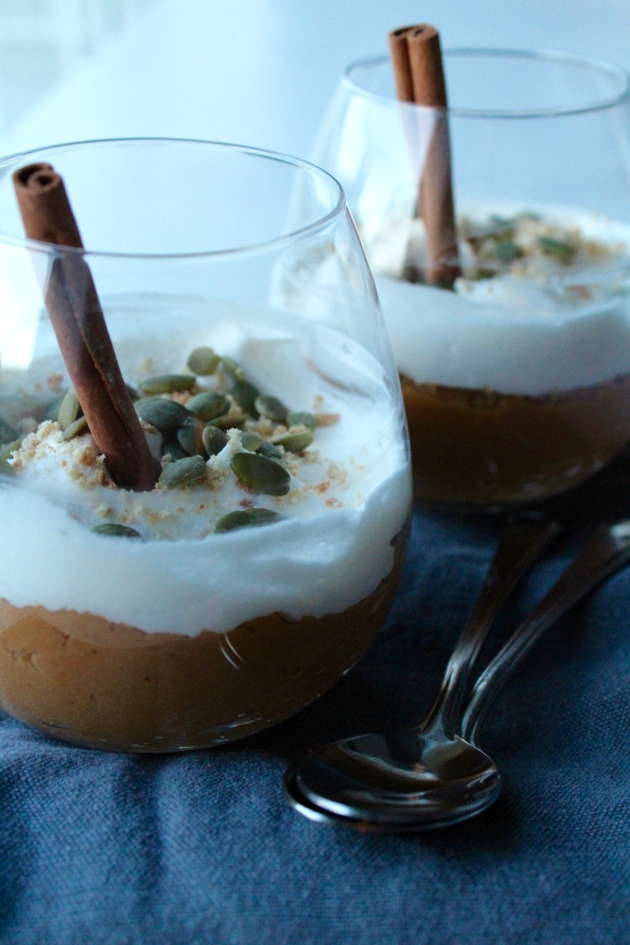
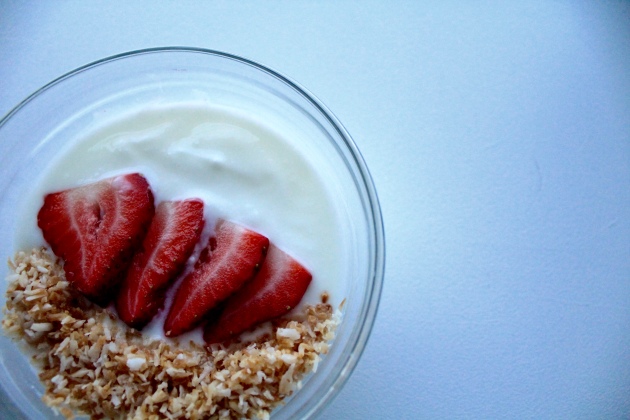
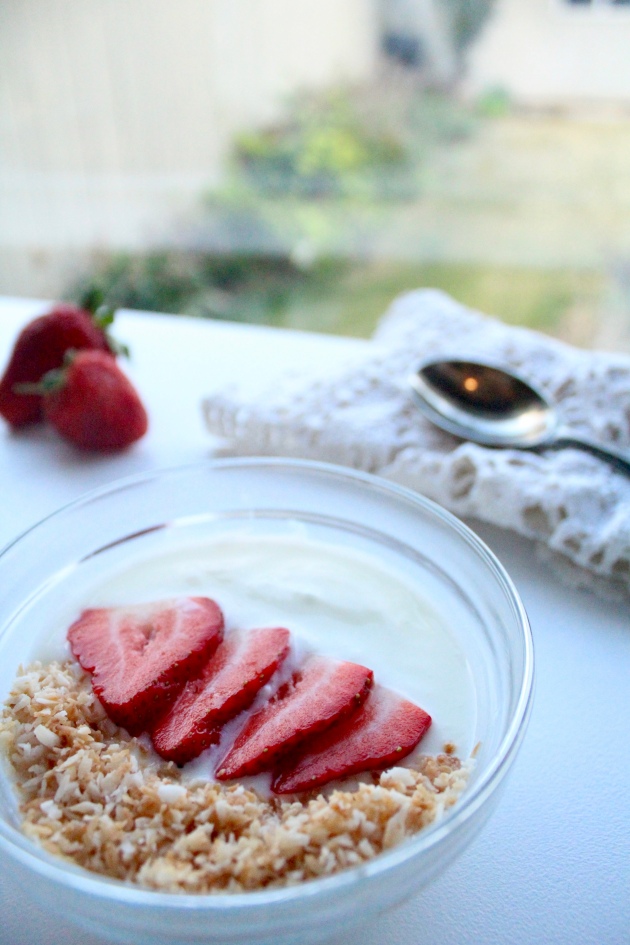
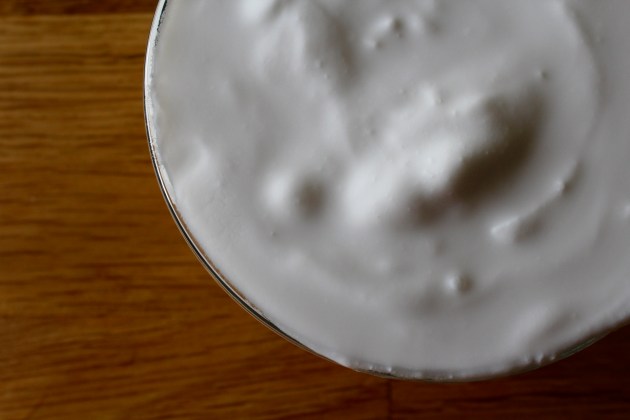
Chickie Dough Parfait – so I don’t know about you, but I’m ridiculously excited for pumpkin spice season!!! I’m not sure I ever liked pumpkin spice anything before we started making Pumpkin Spice Chickie Dough, but now…I have fully converted. The Chickie Dough Parfait was inspired by the uncanny resemblance between pumpkin pie and Pumpkin Spice Chickie Dough. This baby is the equally as tasty, way less fattening cousin of pumpkin pie, topped off with fat free cool whip and crushed up graham wafers.
What is your favorite way to eat Chickie Dough?? Leave a comment below – I would LOVE to hear from you.


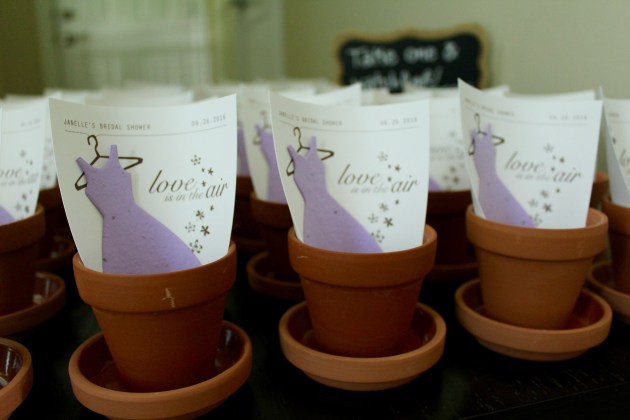
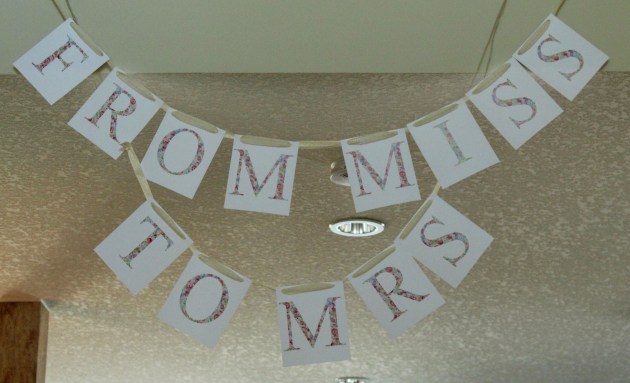
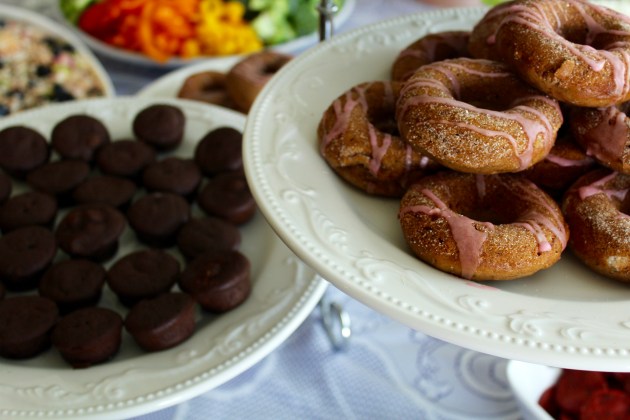
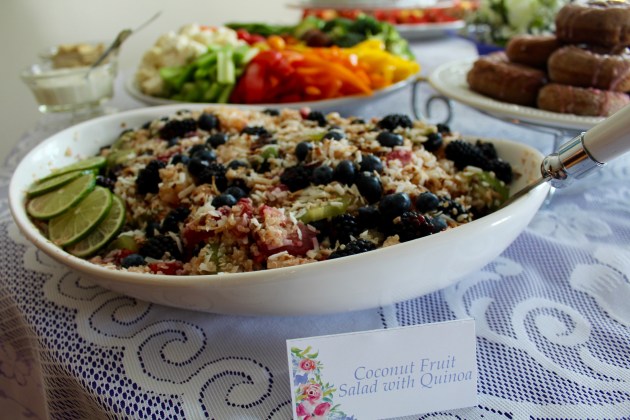
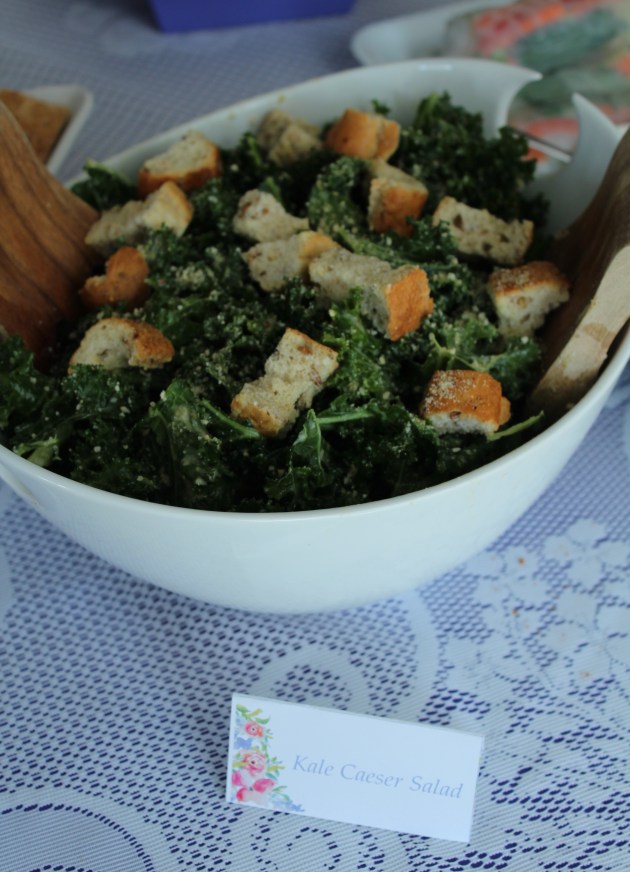
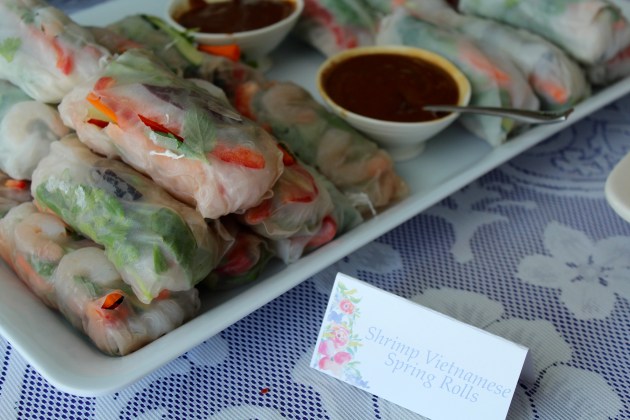
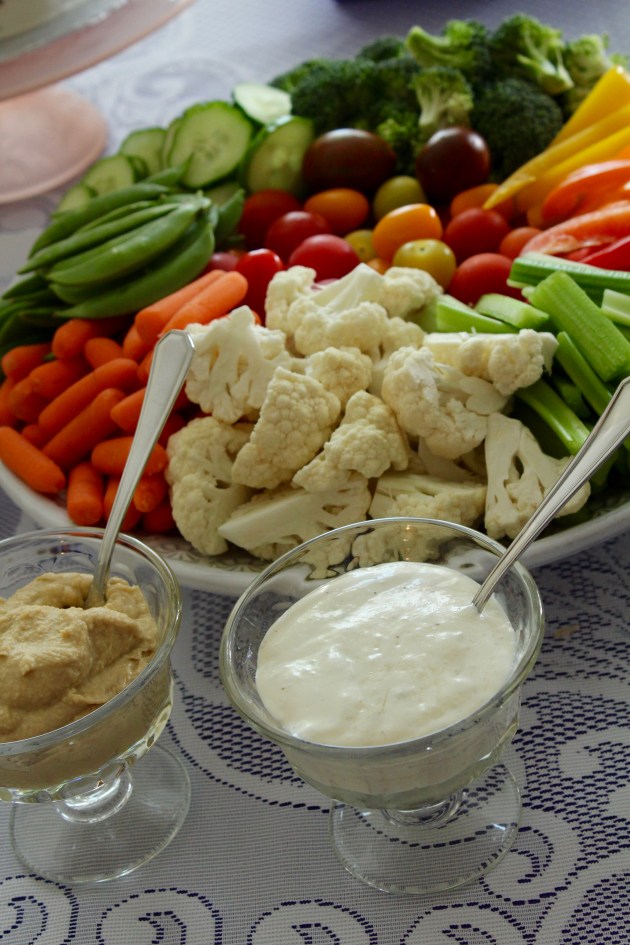
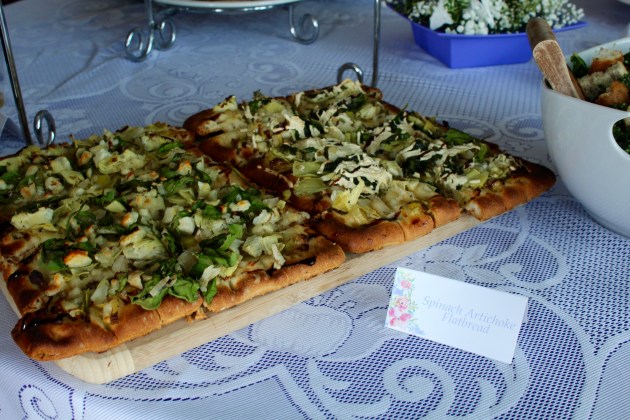
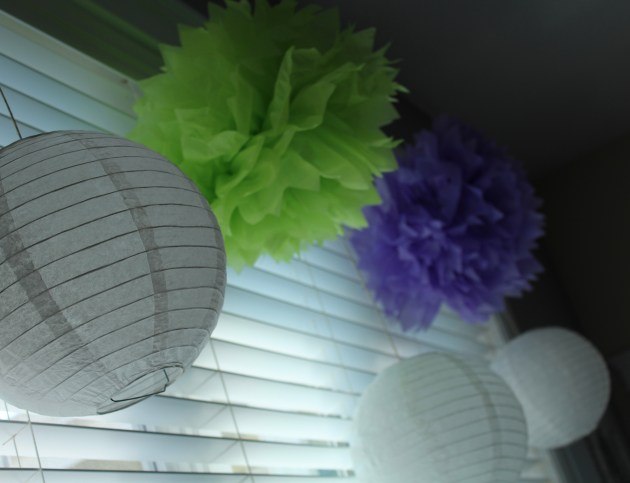
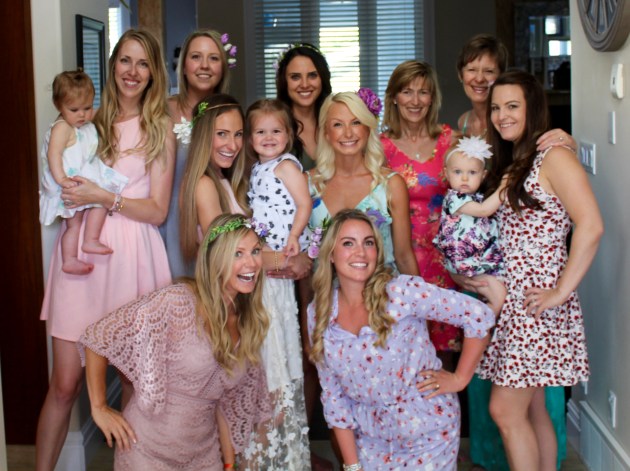
 So I’m not sure if you’ve heard – but my best friend is getting marrriieeeddd! I met Janelle at the ripe young age of 6 months and she hasn’t been able to get rid of me since. I am super excited to share some of the photos of the bridal shower that her entourage and I hosted on Sunday. We had such an amazing time planning and preparing for this day and it all paid off!


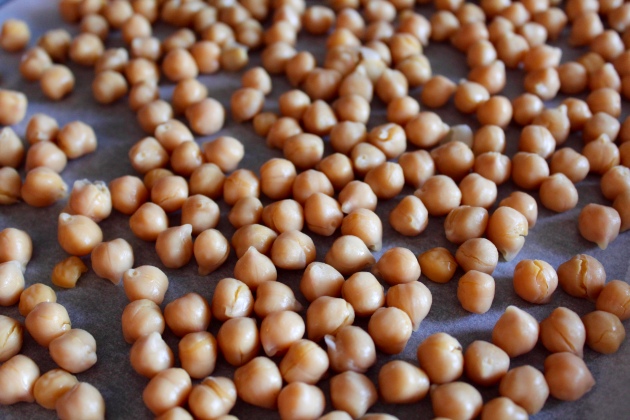
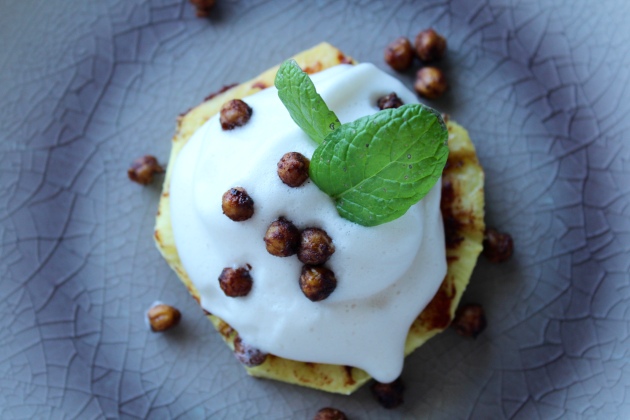
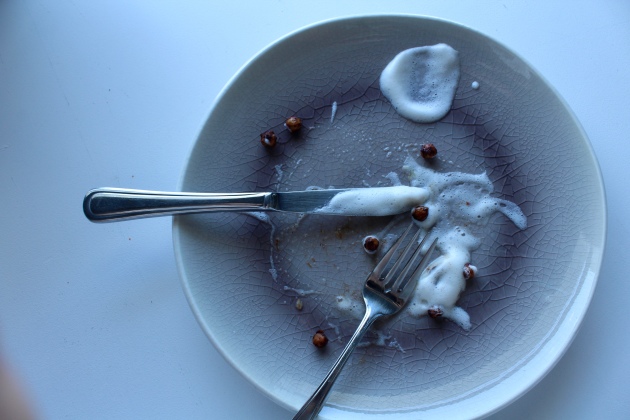
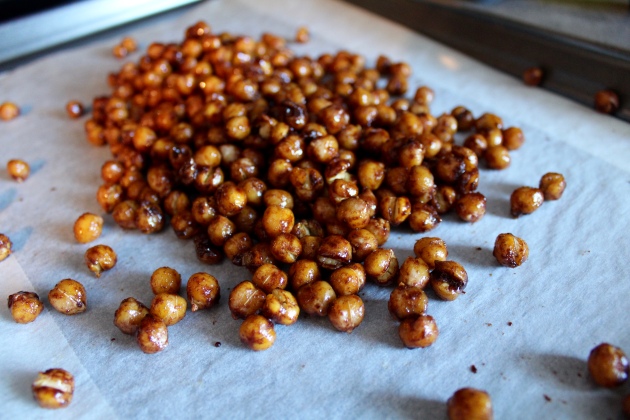 Candied Chickpeas
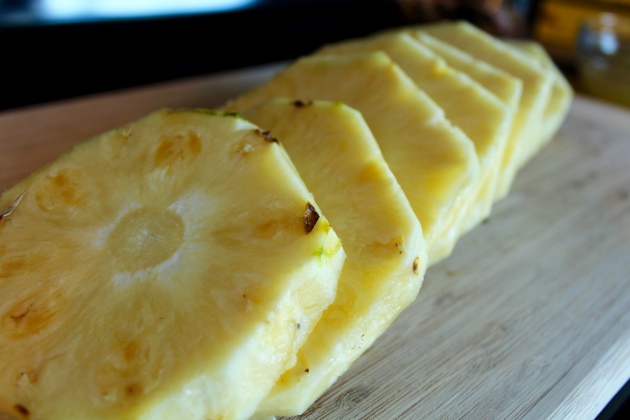
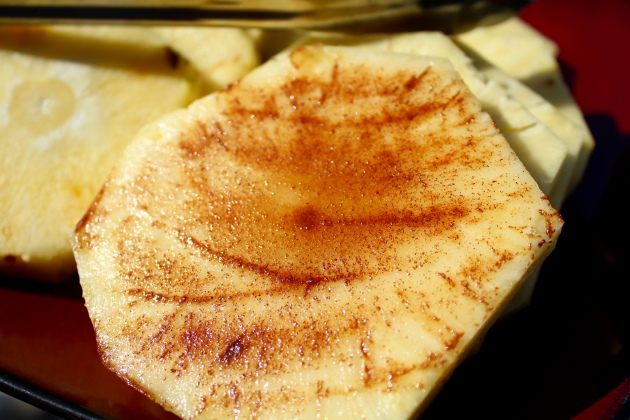
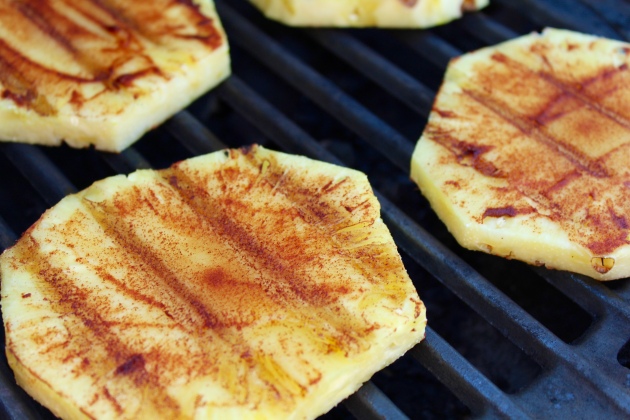
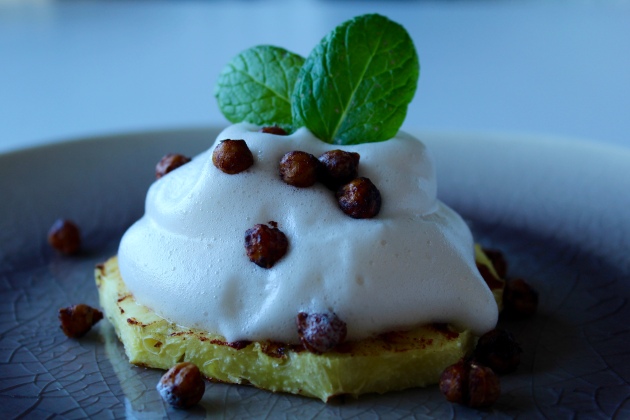
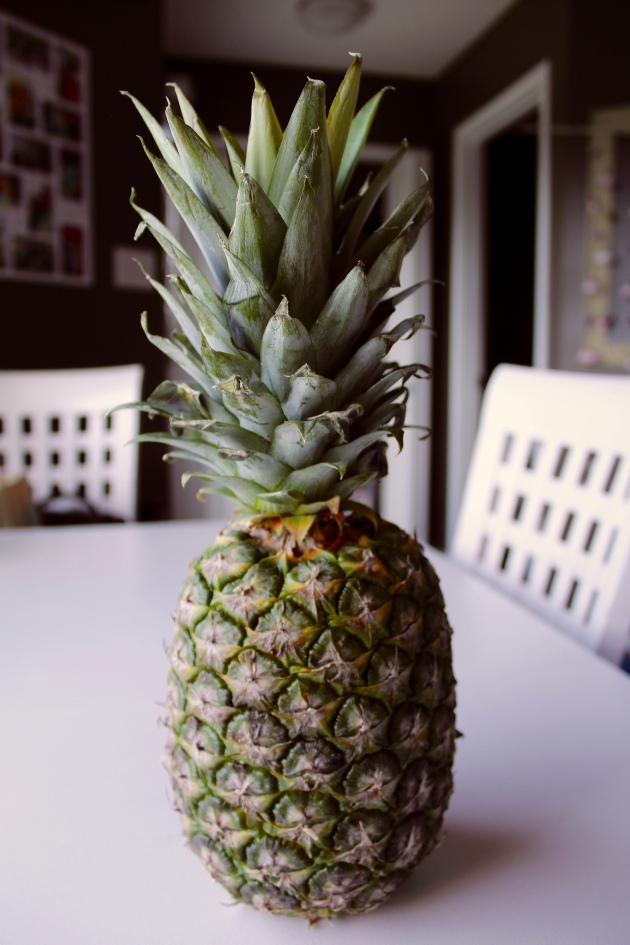
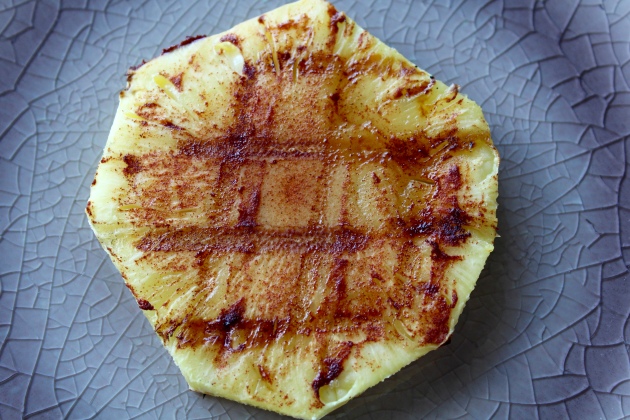 Grilled Pineapple